


James Hardie VL Installation
Hardie VL Installation
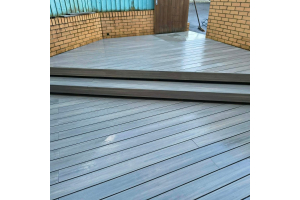
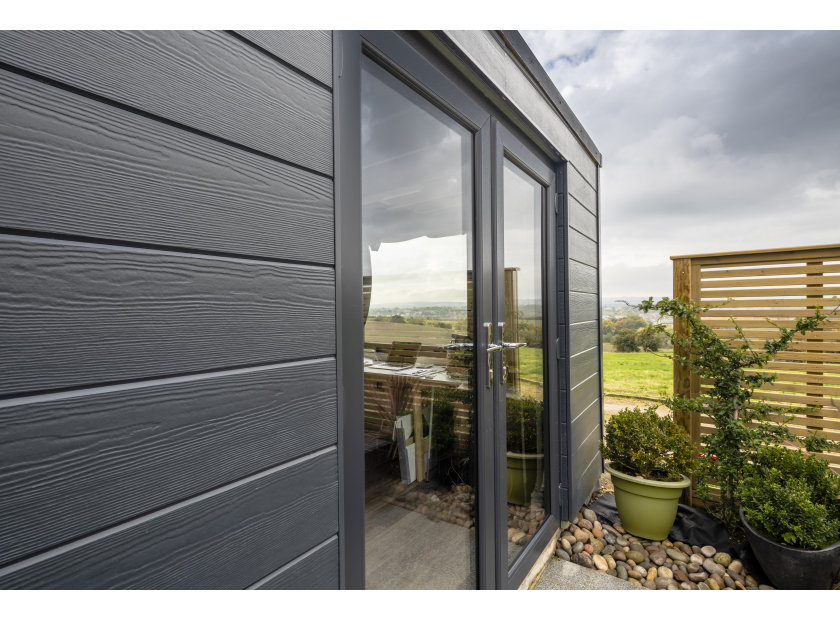
If you’re looking for a versatile, low maintenance weatherboard with a natural and beautiful texture, look no further than our fibre cement HardiePlank® product family. It’s the facade of choice for builders and homeowners alike, protecting and beautifying millions of homes.
Made from advanced material fibre cement, HardiePlank® weatherboard is an engineered cellulose-fibre and cement composite that offers the ultimate in fire, moisture, rot and pest resistance. The board’s unique properties offer major advantages over conventional cladding materials, providing ease of installation, design flexibility and enhanced durability.
-
Make sure the battens are positioned 10mm higher than the recommended clearance of 150mm so 160mm.
-
Setting your batten Spacing. Use 160mm spaces, this will vary with the weather conditions of where it is being installed.
-
Check the horizontal and vertical alignment of the subframe.
-
Leave a 20mm gap at the top of the subframe.
-
The easiest way to ensure the correct detailing for the first plank is by using the VL starter profile and ventilation profile. This ventilation also prevents insescts from getting up behind the planks.
-
The ventalation profile must be fitted first, so that the unperforated leg sits behind the timber batten, i.e. in-between the batten and substrate.
-
Extend corner profiles 10mm beyond the base and top of the battens.
-
Fix corner profiles with stainless steel nails at a max spacing of 1500mm. You can use a nail gun or by hand.
-
Fix the starter profile and check the alignment of the profile.
-
Leave a 1mm gap from the corner trim.
-
Pre-drill the profile and fix with the Hardie Plank Screws.
-
For the top detail, dress the top of the batten with the ventilation profile, the unperforated leg can be to the front of the batten.
-
Fix the Hardie Plank VL Window Head Trim to the battens above the window.
-
Fix the J profile to the battens below the window cill.
-
Fix the Hardie Plank VL Window Reveal Trim left and right to the window.
-
Always carry the planks vertically to avoid bending/breaking.
-
Install the planks layer by layer from the pallet to ensure maximum variety in surface textures.
-
Protect the timber battens at the joints with EPDM tape. If this is not used when installing then it will void any warranty.
-
First start at a bottom corner of the building and fit the first plank by positioning it onto the starter profile.
-
Make sure to leave a 1mm gap between the plank and the metal corner profile. This allows for any movement that may occur.
-
Fix to the battens using a Hardie Plank screw through the tounge section of the board, no pre-drilling necessary.
-
Ensure the screwhead is flush with the VL surface.
-
Note the recomeneded position of the screw from the VL edges.
-
When cutting the boards, the painted face needs to be downward facing. You can only use the Hardie cutting disc to cut the VL boards.
-
Seal the cut edges with Hardie Seal edge coating prior to installation.
-
Place the seccond board into position bt carefully interlocking the grooved edge over the toungeof the previous board. Again, ensure that a strip of EPDM Tape has been applied to the batten.
-
Hardie VL can easily be cut to size to complete the window detail with a precise fit.
-
Thanks to the innovative tounge and groove system and the J profile the board can be fitted perfectly at the window cill.
Short Code:
Credit Limit:
Current Balance: