


Fencing with the new Tanalised battens

* New style preasure treated batten is expected July/Agust
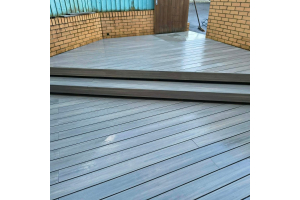
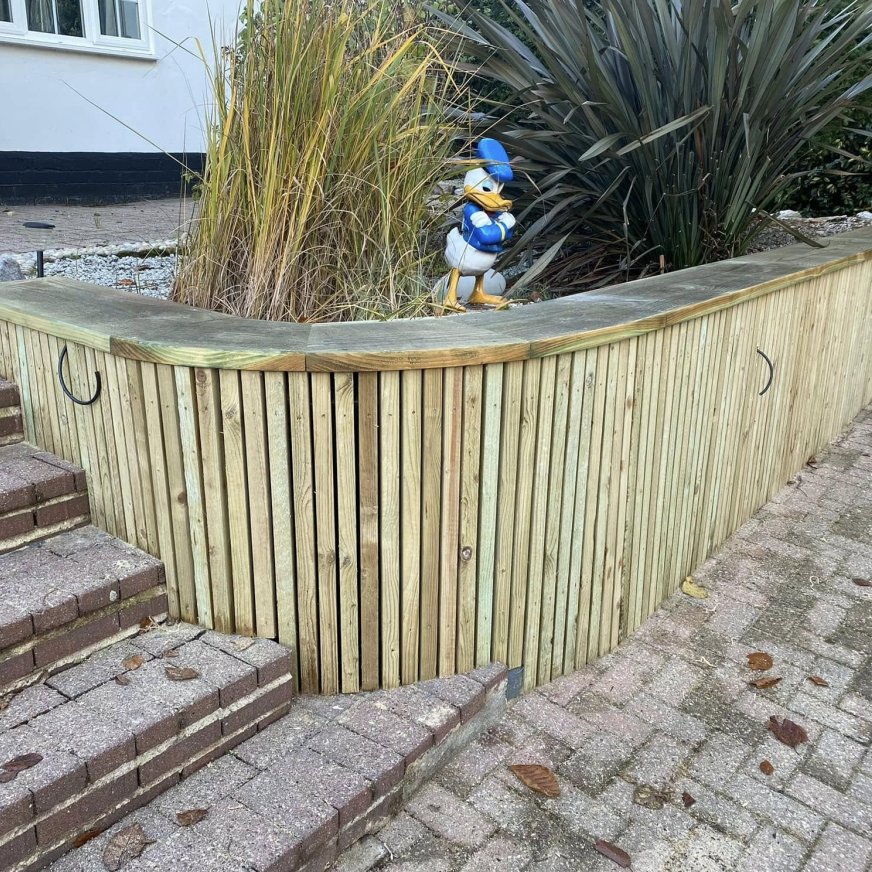
One of the pleasures in the building trade is watching the development, and introduction, of new products. They can be radically new such as the DuraPost garden fencing and metal post range. Or alternatively, the product can be simple, but visually exciting, such as planed exterior battens.
Rise of the timber batten
Softwood timber battens are ideal for outdoor projects and sales have risen accordingly. The key raw material is our favourite slow-grown Scandinavian pine, chosen for its stability and durability. Our planed battens receive a pressure treatment to ensure a long-lasting performance.
Sawn battens can be used, but planed batten normally provides a cleaner and more contemporary appearance. Planed (aka Planed Square Edge PSE) batten is also easier to stain, or varnish, when the fence is completed.
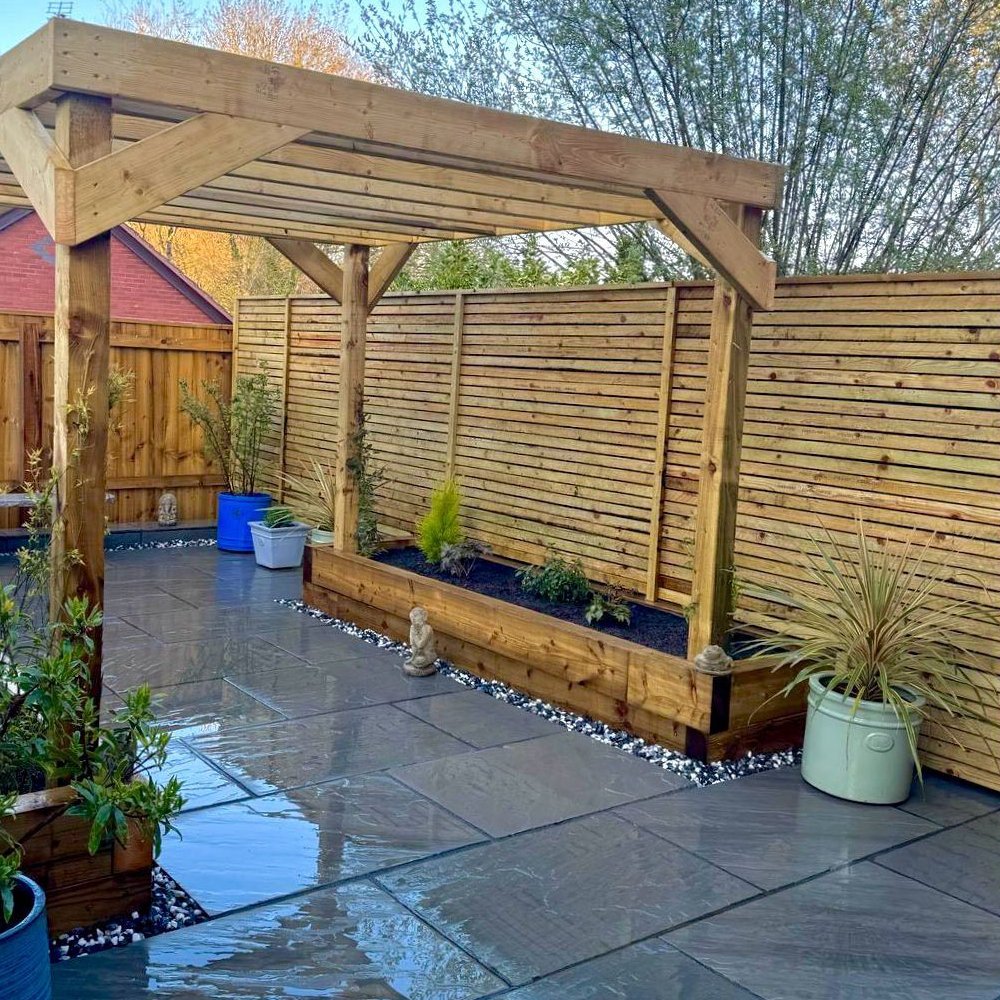
Post spacing and lengths
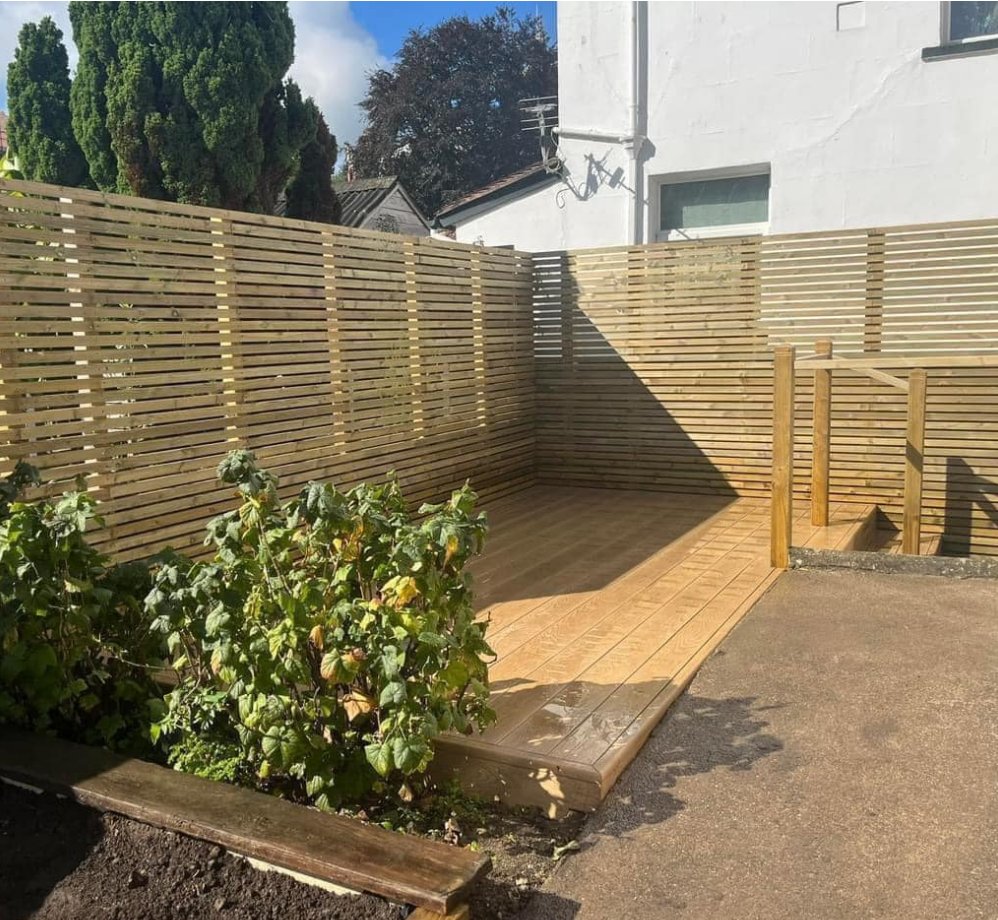
By using longer length battens (depending on availability), you will have fewer joints in your fence, creating a cleaner and more contemporary finish for your project. Uprights for attaching the batten to should be around 450mm apart, poplar batten spacing is 5mm – 8mm depending on how strong prevailing winds are.
Inform your neighbour/s
If there is already a fence in place you need to verify if the fence is your responsibility, or you neighbours. Whatever the case you would be advised to advise your neighbour what you are planning to do – especially if you are attaching products to their existing fence.
String lines
Take a string line across the front of the posts and make sure the posts are running in a straight line. You will have to use spacers and some timbers of approximately the same size as the vertical posts.
When installing the battens they will have to be firmly fixed because like all timber they will try and “move” especially when they are wet and the sun comes out. As a rule of thumb the fixing screws should be 1.5 to 2 times the thickness of the batten – say 20mm x 2 = 40mm minimum. Countersink your screws and you will have to allow 2 fixings for each batten on each post
Timber Batten spacing
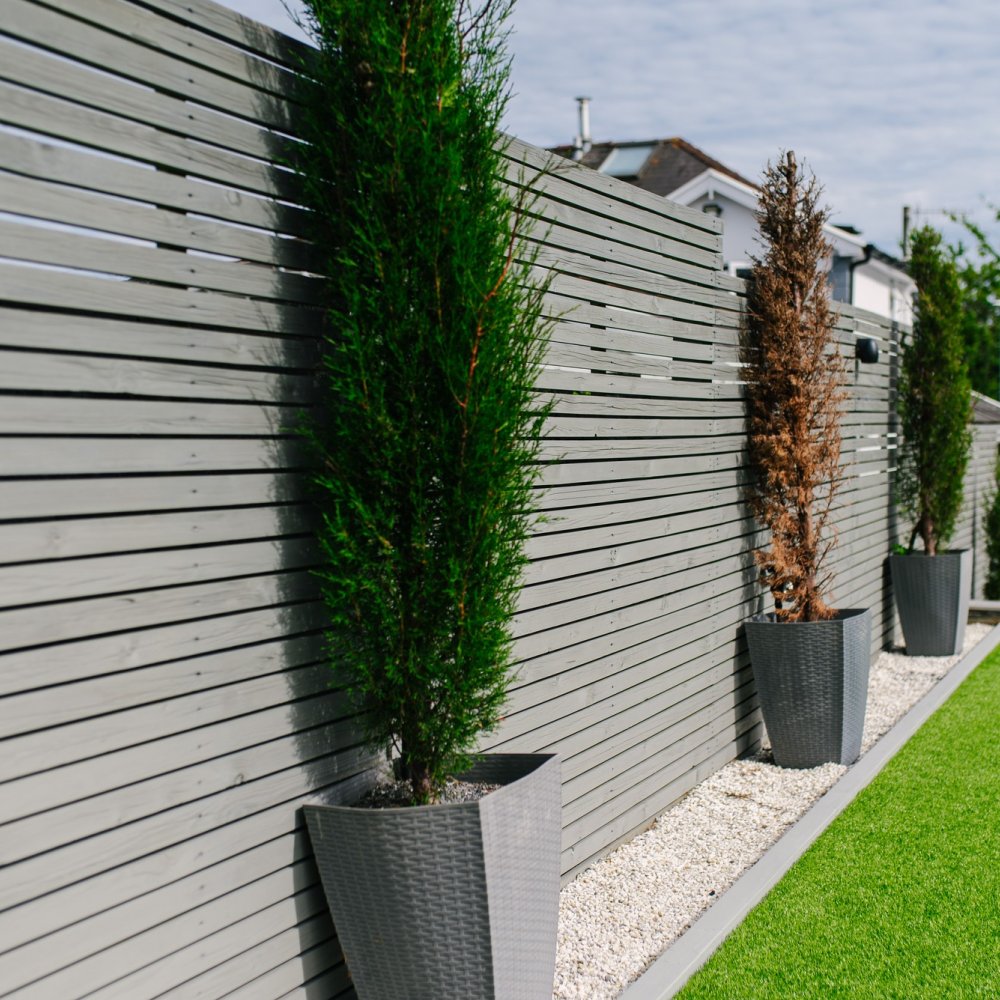
This may well depend on whether you are fitting battens to a wall, or if they are going straight onto a line of new fence posts. If the battens are being fixed to a wall then spacing can be quite close, most feedback is for 5mm spacing. Because of the presence of the house or garden wall, there shouldn’t be much need for factoring in wind load.
If however the fence is free-standing you might need to keep the batten spacing at 5mm – increases in spacing can be an open invite for Ivy and other garden “weeds” to invade through the spacing. Probably the best option is to keep the spacing at 5mm and increase the number of timber posts
Tools and/or materials required
Most tools will be available in the Tradesman’s van. However, please double check on the following:
- Spirit level – the longer the better
- 40mm or 45mm stainless steel nails or screws
- 5mm, or similar, spacers for the timber battens
- Builders string - keep it level, keep it straight
- Cross-cut timber end grain preservative
Other items will largely depend on where the fence is going to be situated and what jobs it will have to perform – e.g. is it for privacy (weed fabric) or for a windbreak (closer spacing on battens)
New styled batten is coming soon
We have been selling ex. 25mm x ex.50mm (finished size 19mm x 41mm) square edge battens for some time now. These tanalised battens are normally suited for privacy slats, screens, fences and gates. Supplied in factory finish green(ish) coloured pressure treatment the surface readily accepts finishes, but make sure the product you plan to apply is suitable for smooth planed timber.
Because of the popularity of planed, pressure treated battens we have introduced a new planed-all-round batten machined from the same raw material. Finished dimensions of this smooth cornered product is the same 19mm x 41mm, and supply is expected to commence in late August 2025
Other tanalised batten options
Other timber sizes you can use include ex. 25mm x 75mm, and 25mm x 100mm planed and tanalised. These timbers would have planed square edges on them but may look better proportioned in a larger garden.
Finally, a few things to watch for:
Use battens in longer lengths so that timber joints can be staggered
Countersink screws on every screw fixing
Use stainless steel fixings to minimise any staining from the fixings
If the installation is with free-standing posts then ensure they are in a straight line

Short Code:
Credit Limit:
Current Balance: